The CPU is one of the factors to consider when purchasing a new PC. In addition, you might need its information to determine if a game or app can run. Another reason to know your CPU generation is for troubleshooting reasons. If you have “Intel Inside,” we’ll show you how to find your Intel CPU generation on Windows 11.
How to Check Your Intel CPU Information on Windows 11
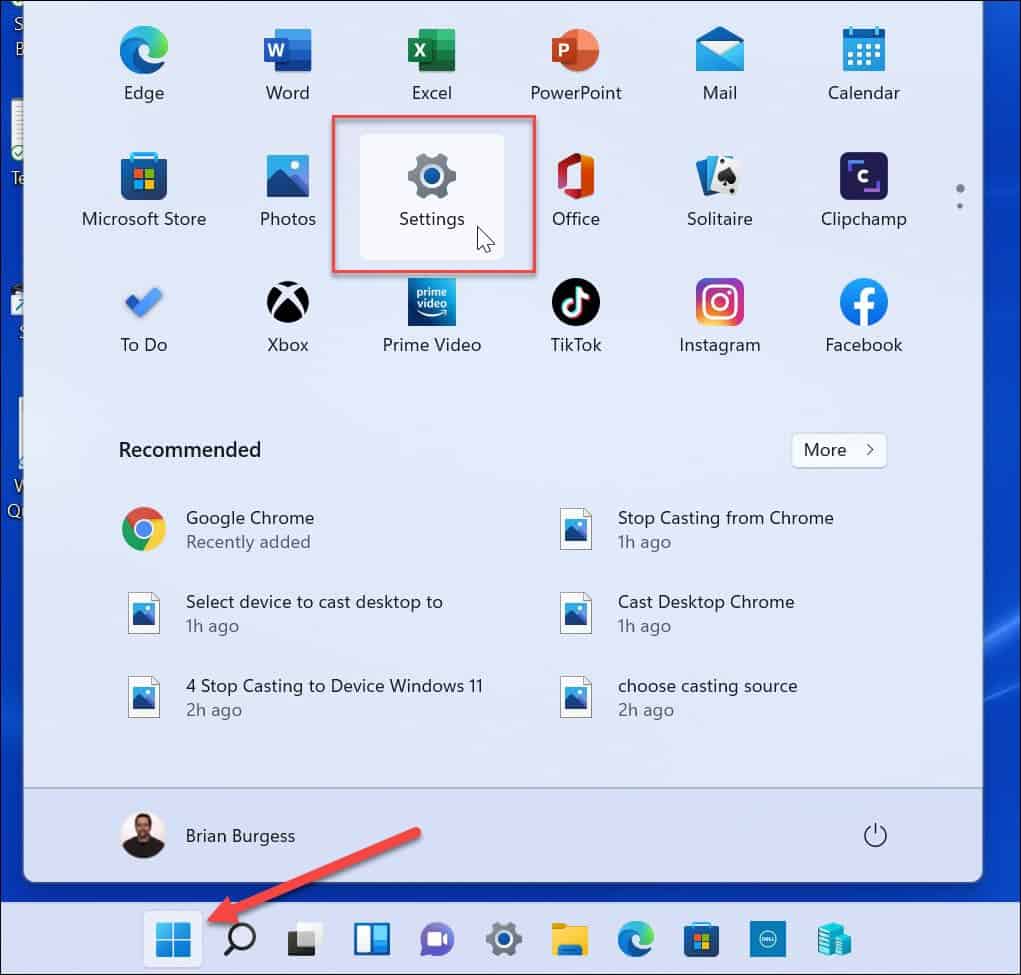
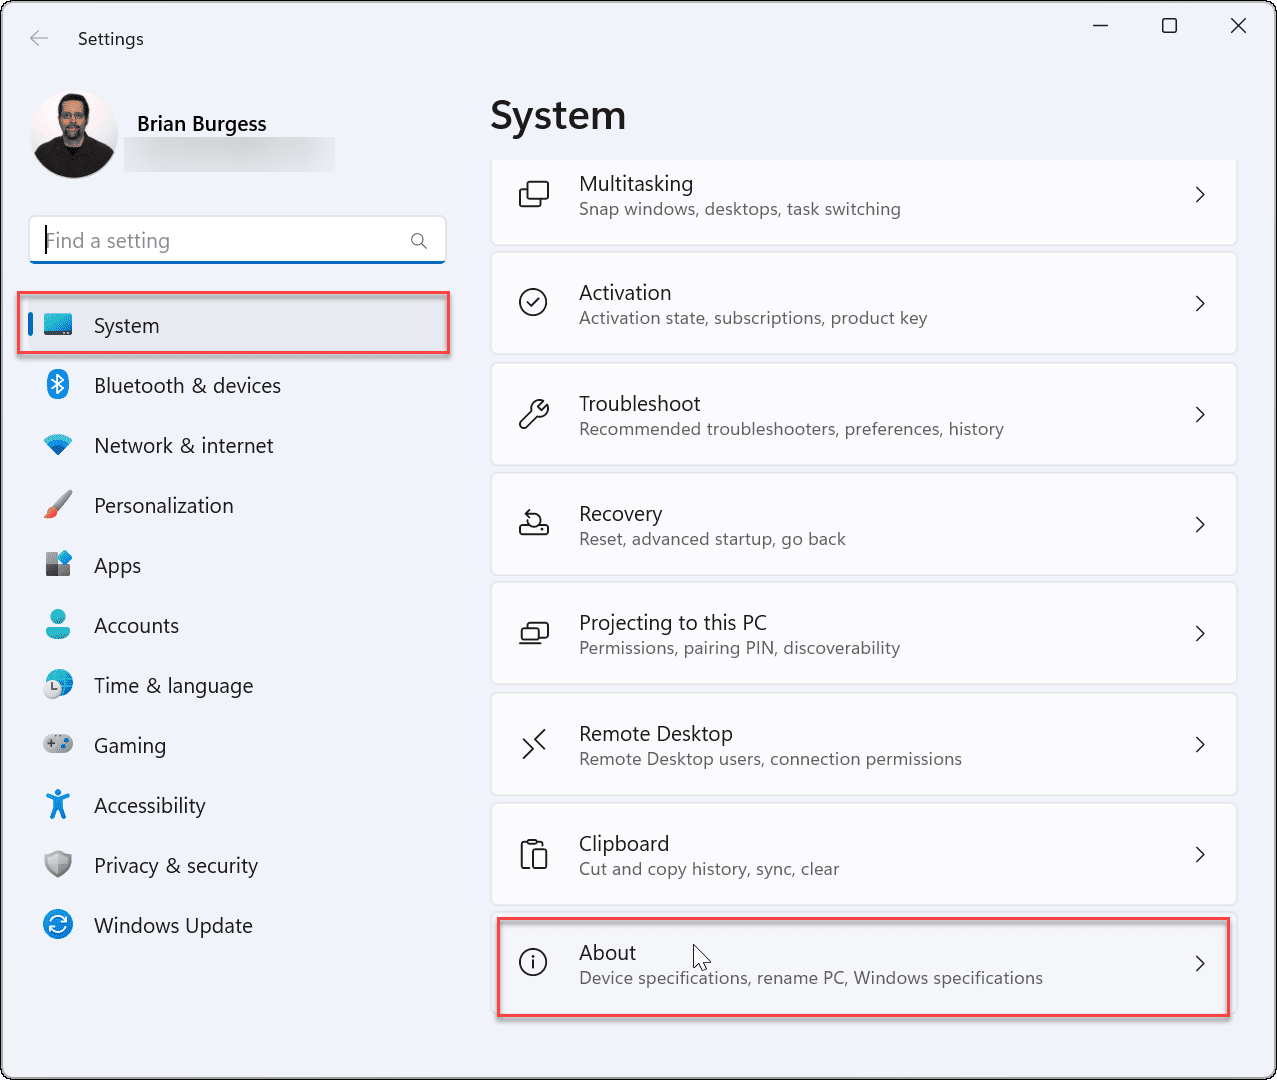
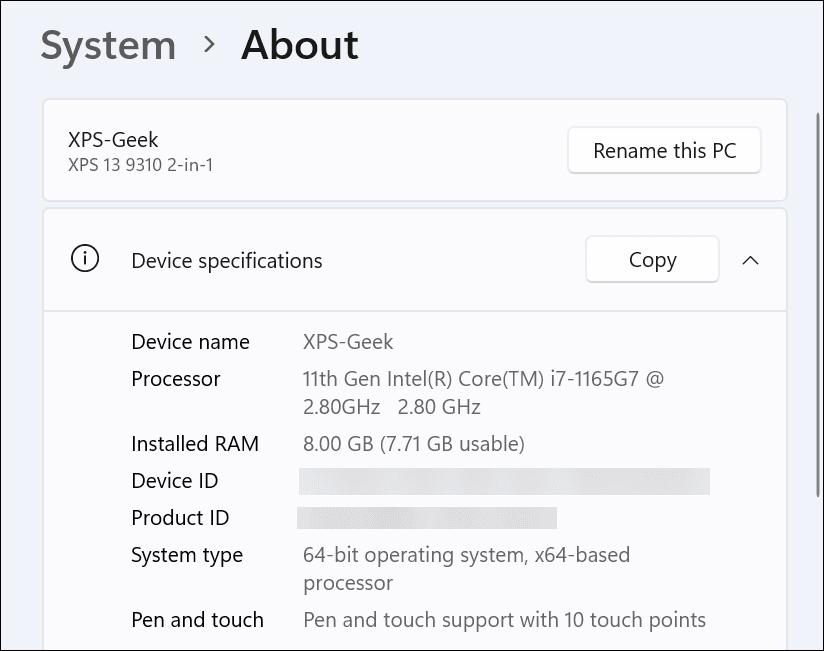
There are a few ways to find your Intel CPU generation on Windows 11 (along with other information). No additional third-party software is required. To find your Intel CPU information via Settings on Windows 11:
How to Find Your Intel CPU Generation on Windows 11 via Windows Terminal
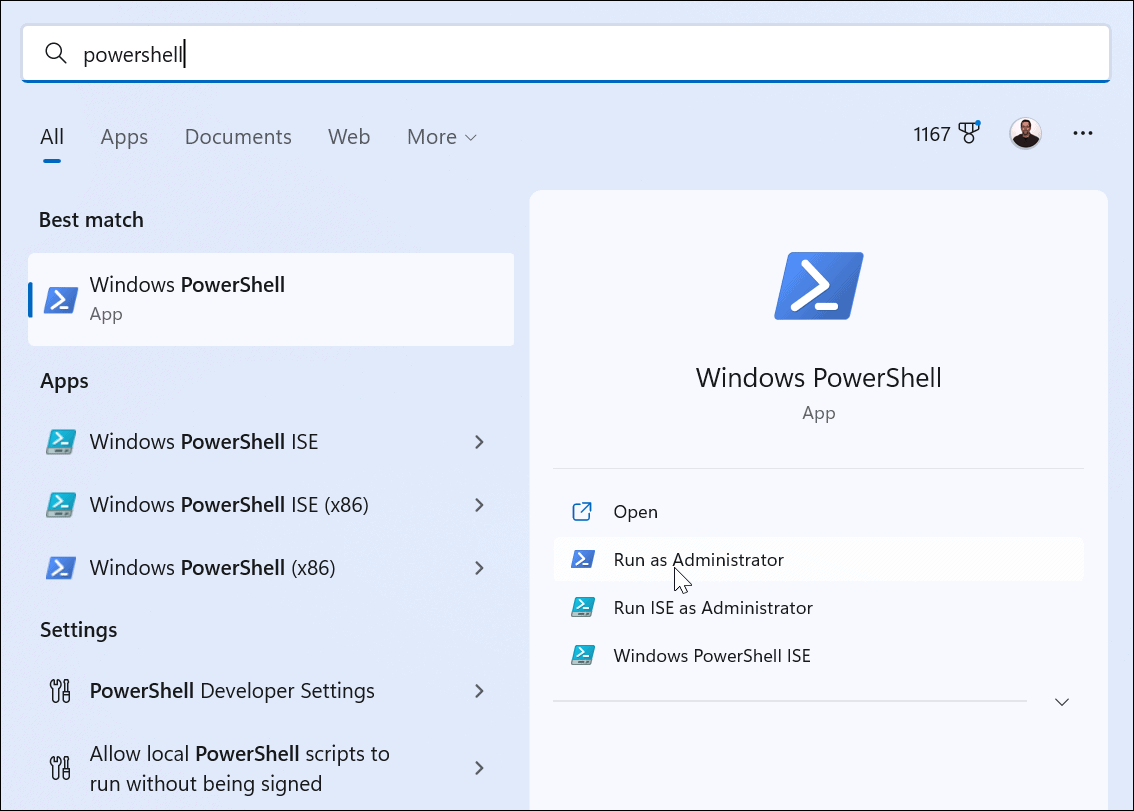
If you enjoy using the command line to get things done, you can use the PowerShell, Windows Terminal, or the older command prompt to find your Intel CPU generation. To find your CPU generation via PowerShell or Windows Terminal:
Use Task Manager to Find Your Intel CPU Generation
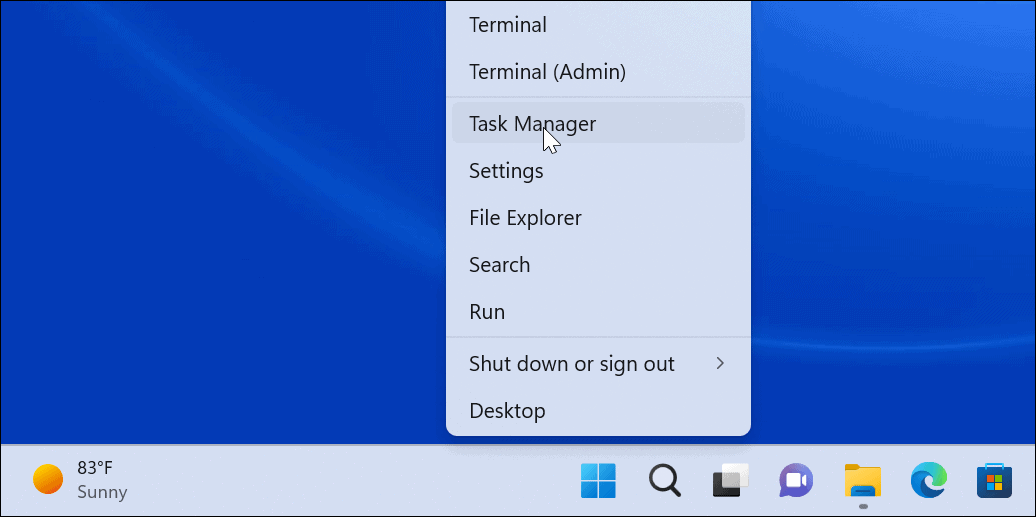
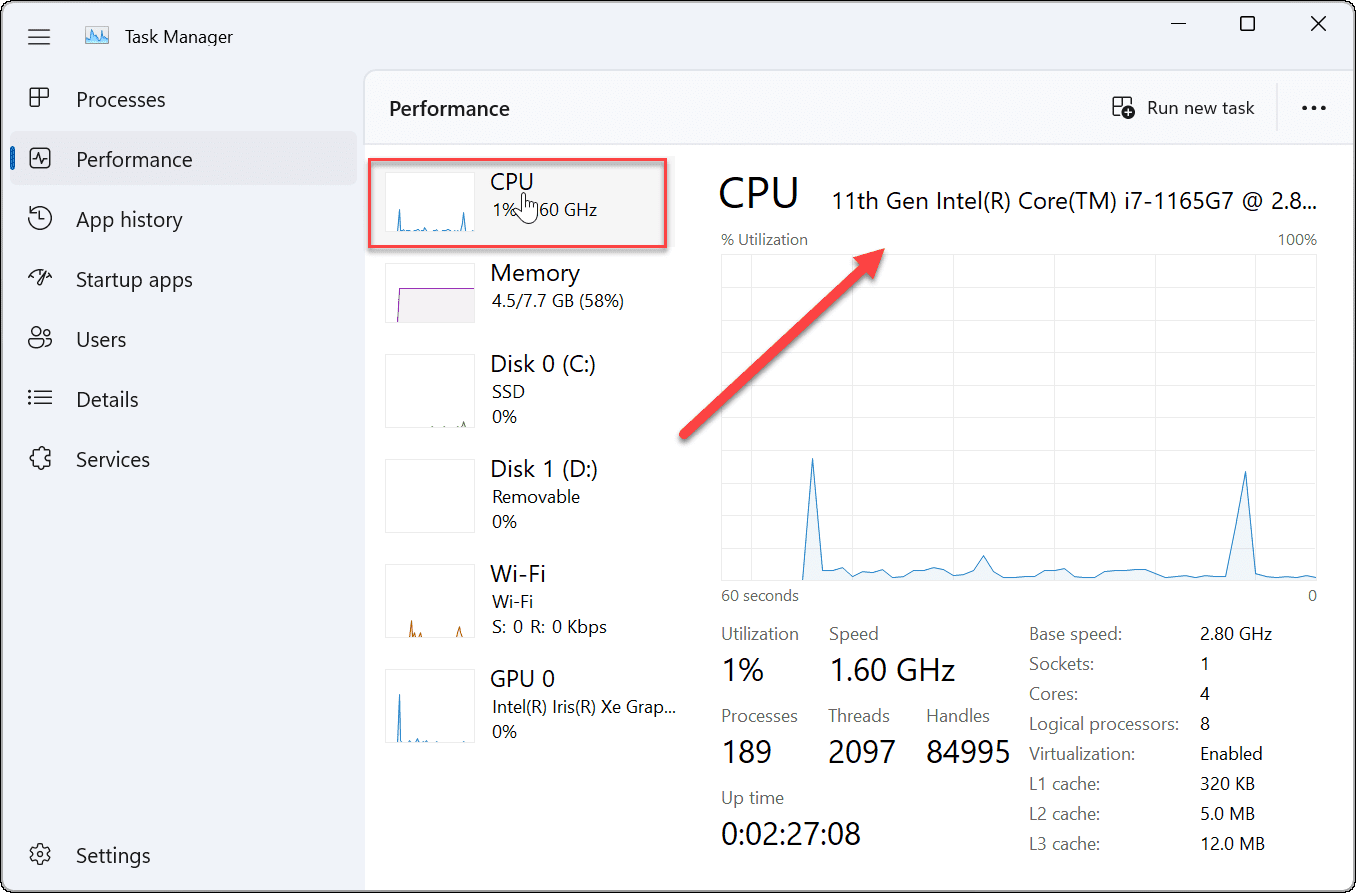
Another straightforward way to find the generation of your Intel CPU is by using Task Manager. To find your CPU generation using Task Manager:
Find Your Intel CPU Generation on Windows 11
Is your Intel CPU feeling a little outdated? By using the steps above, you can check your current Intel CPU generation on Windows 11. This can help you to decide which CPU to upgrade to next, as well as troubleshoot CPU-specific issues. When it comes to your CPU, you don’t want it to run too hot. If you have a heavy workload, check out how to check CPU temperature on Windows 11. You’ll also need to keep an eye on other hardware in your PC. For example, you can easily check Windows 11 PC hardware and system specs. If you cannot upgrade to a new PC, you may need to learn how to make Windows 11 run faster on old hardware. Comment Name * Email *
Δ Save my name and email and send me emails as new comments are made to this post.
![]()

