An “administrator” account provides complete control of the device and apps. For example, a user with an Admin account can use the account to install and run apps, run with elevated privileges, change global system settings, and make other changes without entering a passcode first. A “standard user” account restricts users’ privileges but offers a more secure environment. If you want to change the account type on Windows 11, follow the steps below.
How to Change Account Type on Windows 11
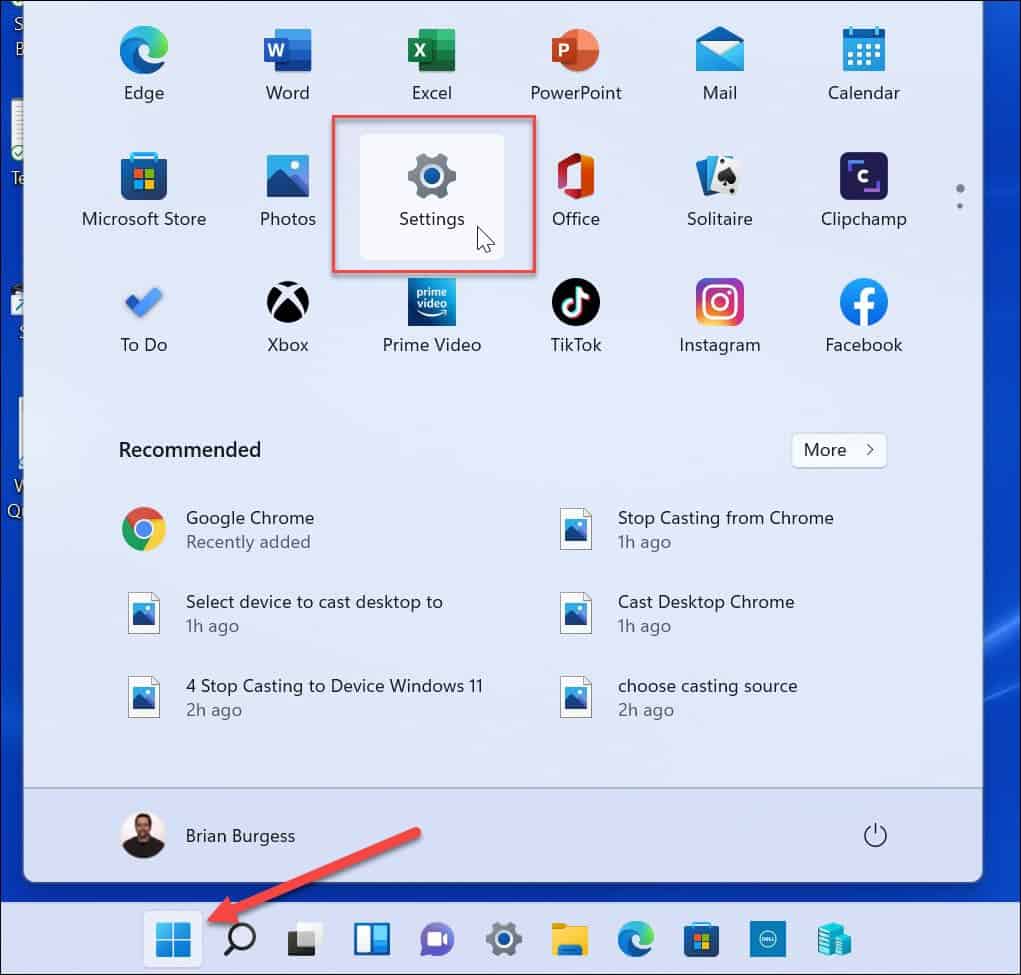
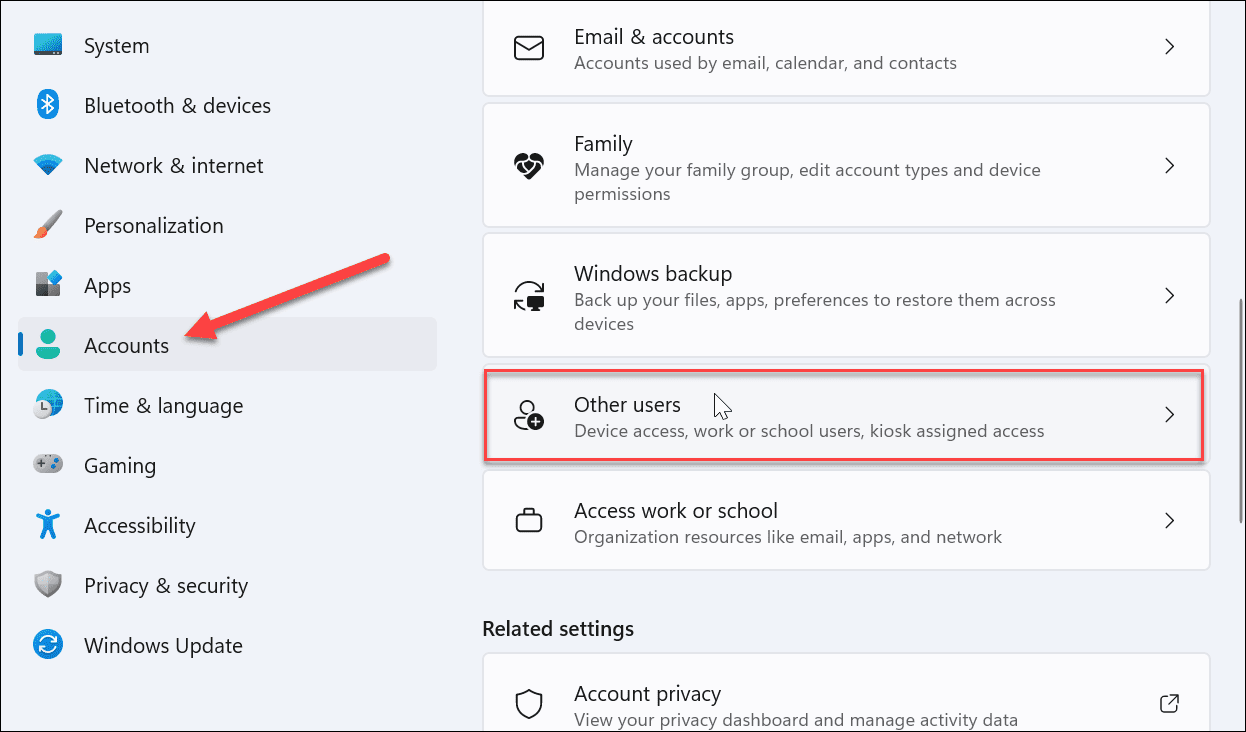
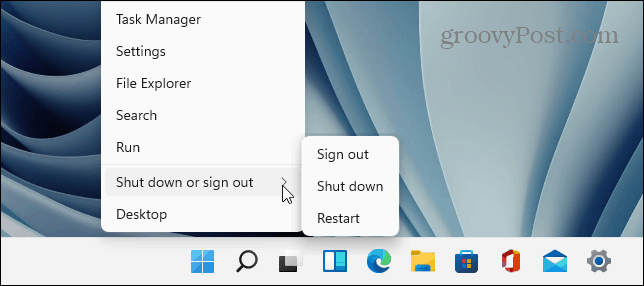
Changing the account type on Windows 11 allows you to manage its permissions and make it easier for users to work on something themselves. To change account type on Windows 11:
How to Change Account Type in Control Panel
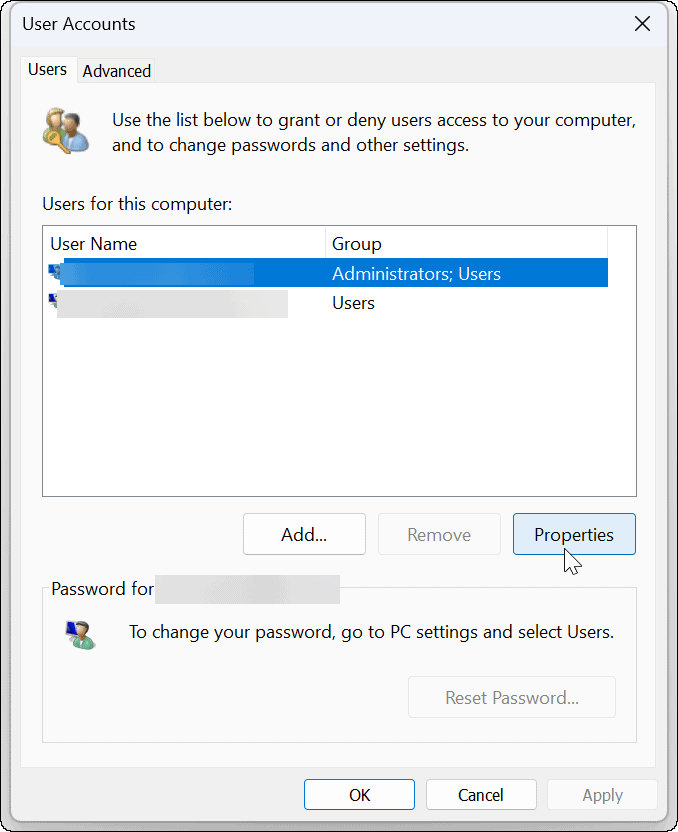
If you prefer to use the Control Panel to change account type on Windows 11, you can—for now at least. The process is straightforward but it does involve a few more steps. To change Windows 11 user account type via Control Panel: The account will be set up as you selected. For example, we set it from Administrator to a Standard User account.
Change Account Type on Windows 11 (Alternate Method)
You can also use an alternative method from Control Panel to change a user’s account type. It’s straightforward, but you need to know what to do. To use an alternate method of changing a user account type on Windows:
Change Account Type on Windows 11
Using the steps above, you can quickly change the account type on Windows 11. You can do other things with user accounts and more on Windows 11. For example, you can altogether disable the annoying User Account Control (UAC) and add a Local user account. You might also be interested in blocking users from Settings on Windows 11. If you need to get rid of an account eventually, check out removing a Microsoft Account from Windows 11. Comment Name * Email *
Δ Save my name and email and send me emails as new comments are made to this post.
![]()


